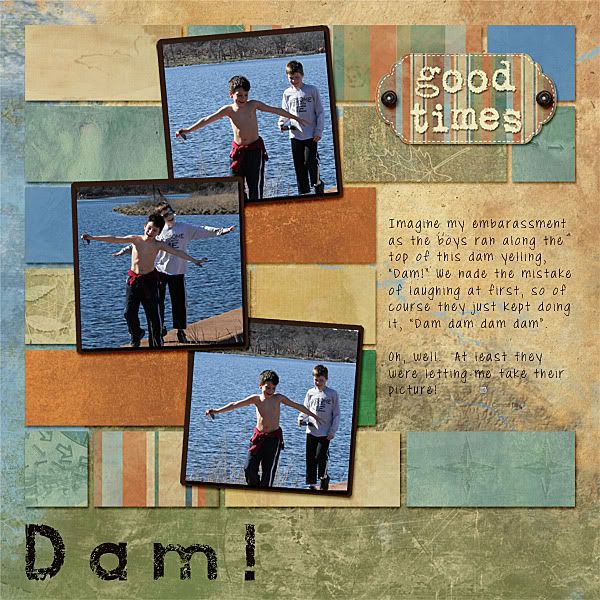
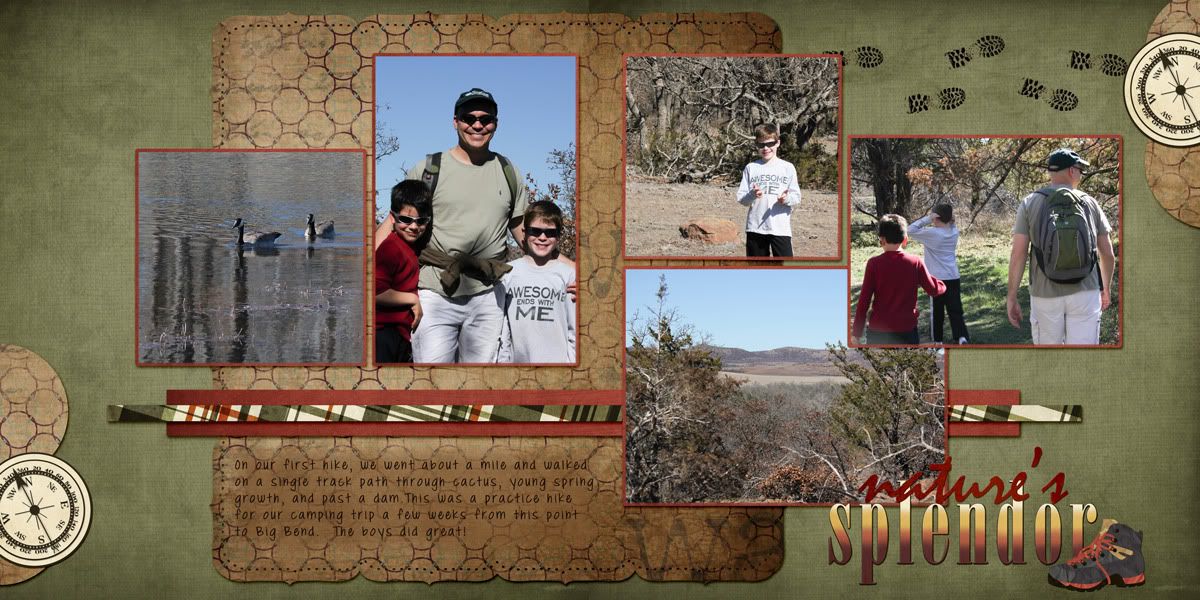
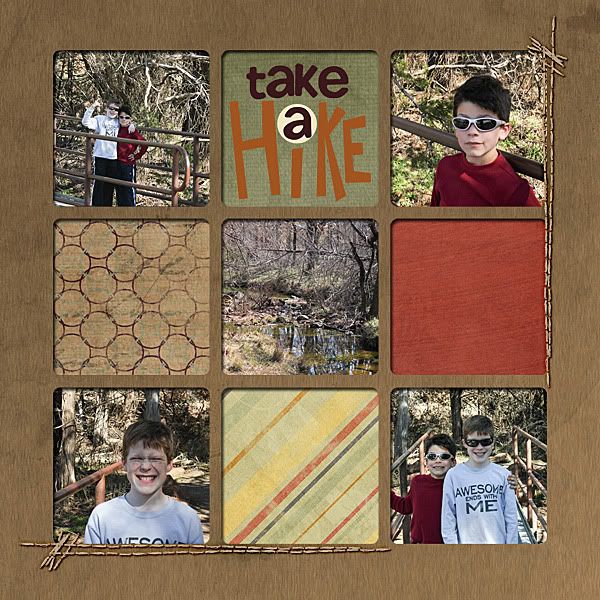
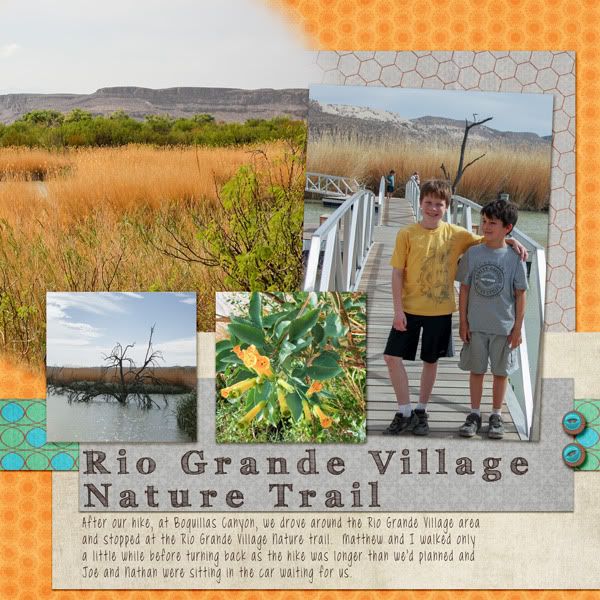
Mye de Leon also includes *.page files in her template packs. I've only been making her templates for a short while but her catalog of them is extensive. Mye uses lots of layers to get a great look. Have you seen some great clustering in the galleries? Her templates help you achieve a great look without having to guess about what looks good. So whether you want something griddy and formal or whimsical and wonky, she's got you covered. She also sells some great kits with beautiful 3D elements at her stores.
Here are some of my favorites that you can pick up from Digital Scrap Shop, Gotta Pixel, or My Memories. I included one of my favorite kits of hers, too.
Thursday, May 10, 2012
Wednesday, May 9, 2012
Scrapping With Liz makes *.page files
Did you know that you can get *.page files that will work in SBC3.0 and 4.0 from many sources?
I make *.page files for Scrapping with Liz and when I make them, I make sure that photo spots work like photo spots and that any standard shape, when possible, is also a live photo spot. This allows you to drag and drop your papers into places and then zoom and move the papers to get the part of the paper you want. I also make sure the text spots are editable.
So when you get templates from Scrapping with Liz, you can be assured that you can make your pages quickly and easily. I've been doing these for the past year, so you can be sure that you'll find *.page files in any of her recent offerings. If you find a set that doesn't have page files, just contact Liz (find her on Facebook at Scrapping with Liz). From adorable Christmas letter templates to cards, to 12x12 pages to blog wear, to super cute calendar toppers, she's got you covered.
Here are some of my favorites, but you can find them all at The Scrap Orchard:
I make *.page files for Scrapping with Liz and when I make them, I make sure that photo spots work like photo spots and that any standard shape, when possible, is also a live photo spot. This allows you to drag and drop your papers into places and then zoom and move the papers to get the part of the paper you want. I also make sure the text spots are editable.
So when you get templates from Scrapping with Liz, you can be assured that you can make your pages quickly and easily. I've been doing these for the past year, so you can be sure that you'll find *.page files in any of her recent offerings. If you find a set that doesn't have page files, just contact Liz (find her on Facebook at Scrapping with Liz). From adorable Christmas letter templates to cards, to 12x12 pages to blog wear, to super cute calendar toppers, she's got you covered.
Here are some of my favorites, but you can find them all at The Scrap Orchard:
Wednesday, April 11, 2012
Fun with Fonts
Head on over to the Digital 411 page to see my latest post about importing fonts to use as shapes in SBC4.0
Fun With Fonts
Fun With Fonts
Thursday, March 29, 2012
Creative Memories Virtual Crop
Did any of you play along with the recent Creative Memories Virtual Crop this past weekend? I did and loved following along with the cues. I got a good number of pages done. I was sort of cheating because I was playing in digital but the important thing is to make progress and get those pages done, right? I thought I'd share some of them with you here.
| Using a Magazine layout for inspiration |
| Inspiration from Vegetarian times to make the layout to the left |
| Scraplifting from the Project Center |
| Making pinwheels, coffee colored papers, and spring |
| Using "scraps" |
| Pinterest inspiration |
| Using their sketch for inspiration |
If you didn't make the crop, don't worry! The challenges can still be found on the CM Traditional 411 Blog. There is so much inspiration there! And you can see all the other great projects made with these cues here.
Saturday, March 17, 2012
Making Monograms
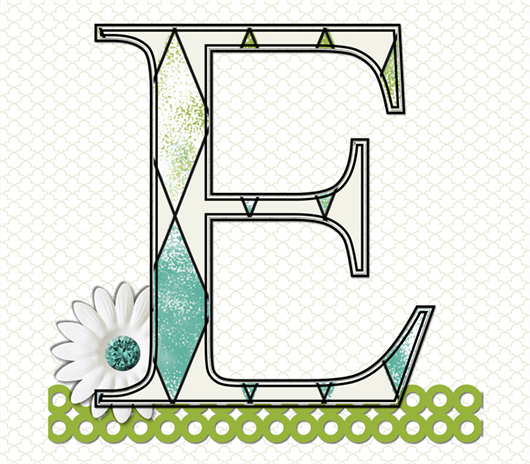
I received a few private comments after the Creative Memories blog hop as to how I made the letter E that was a clue for the giveaway. SBC 4.0 makes it so easy!
First, I went to the Insert ribbon and selected the text Shape option. I selected the letter I wanted to use. For the E, I selected the new Creative Memories Enchanted Paper 9. I selected the line color, line width, and line style I wanted. For the E, I used a compound style with two equally weighted lines. 8 pts, and black. And that's it! Layer a ribbon and a flower from the kit to make it a little more interesting. When you do this on your own pages, if you don't like what you get, just delete it and select the text Shape again and it will retain all the settings you just used so you don't have to enter it all again. How cool is that?
You can use this technique to make great titles, email signatures, too. You can fill in big chunky text with photos! Have a play!
First, I went to the Insert ribbon and selected the text Shape option. I selected the letter I wanted to use. For the E, I selected the new Creative Memories Enchanted Paper 9. I selected the line color, line width, and line style I wanted. For the E, I used a compound style with two equally weighted lines. 8 pts, and black. And that's it! Layer a ribbon and a flower from the kit to make it a little more interesting. When you do this on your own pages, if you don't like what you get, just delete it and select the text Shape again and it will retain all the settings you just used so you don't have to enter it all again. How cool is that?
You can use this technique to make great titles, email signatures, too. You can fill in big chunky text with photos! Have a play!
Tuesday, March 6, 2012
Wednesday, February 1, 2012
Cootie Catchers!

Subscribe to:
Posts (Atom)